Why and How You Should Be Using Frames in Miro | #55
Miro is a great tool, and it is designed to be used with the frames functionality they supply for many reasons - here are some of the most beneficial ones
I use Miro a lot in my day-to-day product management discovery work. The more I use it and learn how to use it, the more I find myself relying on it. It is such a powerful tool that, when used correctly, can remove a lot of the friction you might encounter when doing discovery with other means like docs, Confluence, JIRA, etc.
Very often, I see someone who is new or not used to using Miro and they haven’t utilized the frame functionality correctly, or in some cases at all.
But first, what are frames?
Frames are created by this button right here:
Frames help in separating different parts of the board, project or presentation you are working on, making it easier to move sections around, follow steps and understand the overall picture. This is especially useful in complex projects where different sections need to be clearly delineated.
As you can see above, they can be created to specific sizes, or you can click on the screen to create a freeform shape. They give you a mini background (or sheet) for each different section of the project.
But that only really scratches the surface of what they can do. Here’s a full list:
Full List of Frame Functionalities
Naming Frames: Give specific frames specific names for easy sharing and understanding.
Exporting: Export it as an image or PDF, then use that for your documentation, or to share individual pieces of your project in a message, or as an upload to ChatGPT. This is particularly useful as when you export the whole board and use it as context for whatever AI tool you use. Use this button on the top bar to do that:
Sharing Direct Links: Share direct links to a frame instead of the whole board.
Proportional Resizing: Resize everything drawn on the frame proportionally. Simply highlight the whole frame and click and drag the highlighted frame to make everything contained on the frame smaller or bigger. Here’s an example using the customer journey map from a tip from a few weeks ago
White Background: Gives you a nice white background - Funnily enough, the inspiration for this tip came from a co-worker who had taken a screenshot of a piece of his Miro project, and didn’t notice the lack of a white background until I viewed it in dark mode google docs, and the lines were not visible due to that missing white background.
Presenting Content: Use frames to present your content. Hit the button on the bottom left to open frames:
This brings up the presentation section, where you can present your frames in whatever order you wish. Here is where naming is helpful, and you can reorder frames regardless of where they appear on the page or their size.
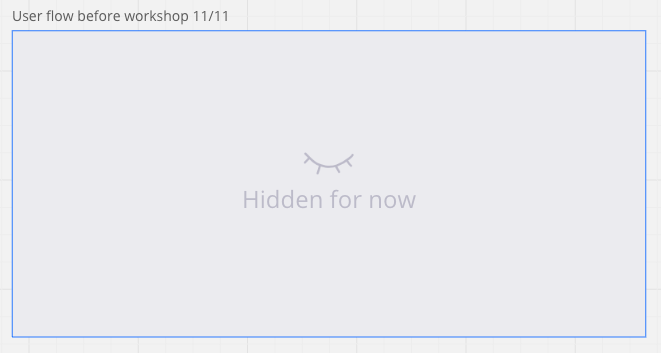
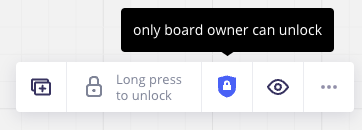
Copying Frames: Copy frames before making changes, before a workshop, or before changing a diagram. Use them as a quick history of what the frame was before changes. You can even hide the history frames’ visibility using the eye symbol (enterprise feature).
Locking Frames: Lock the frame to prevent anyone else from accidentally making changes. You can lock it further so only the board admins can edit it (enterprise feature).
Frame Activities: If you have enterprise, you can add a frame as an activity. When presenting, share the frame with attendees with only specific tooling enabled. This allows you to limit attendees to using specific shapes, emojis, or just comments. Very useful for north star ceremonies like this one I wrote about before
Well that’s all I can think of, but I’m sure there is more!
Know anything else? Let me know and I’ll add to the post.
I have some other Product Operations content here if you found this useful.
For my past tips check out my past posts on Substack or check out the hashtag #JohnsTipOfTheWeek on LinkedIn.
I’d love if you subscribed! I’m trying to build a bit of a following to try and help folks in the industry and make their jobs a little bit easier.


